Ever wonder what the design process is like? Probably not, but just in case you have a sense of curiosity, imma show you how I draw stuff. Peer deep within my twisted brain and discover the making of my latest image – “HamPlanet”. Get ready for excitement!
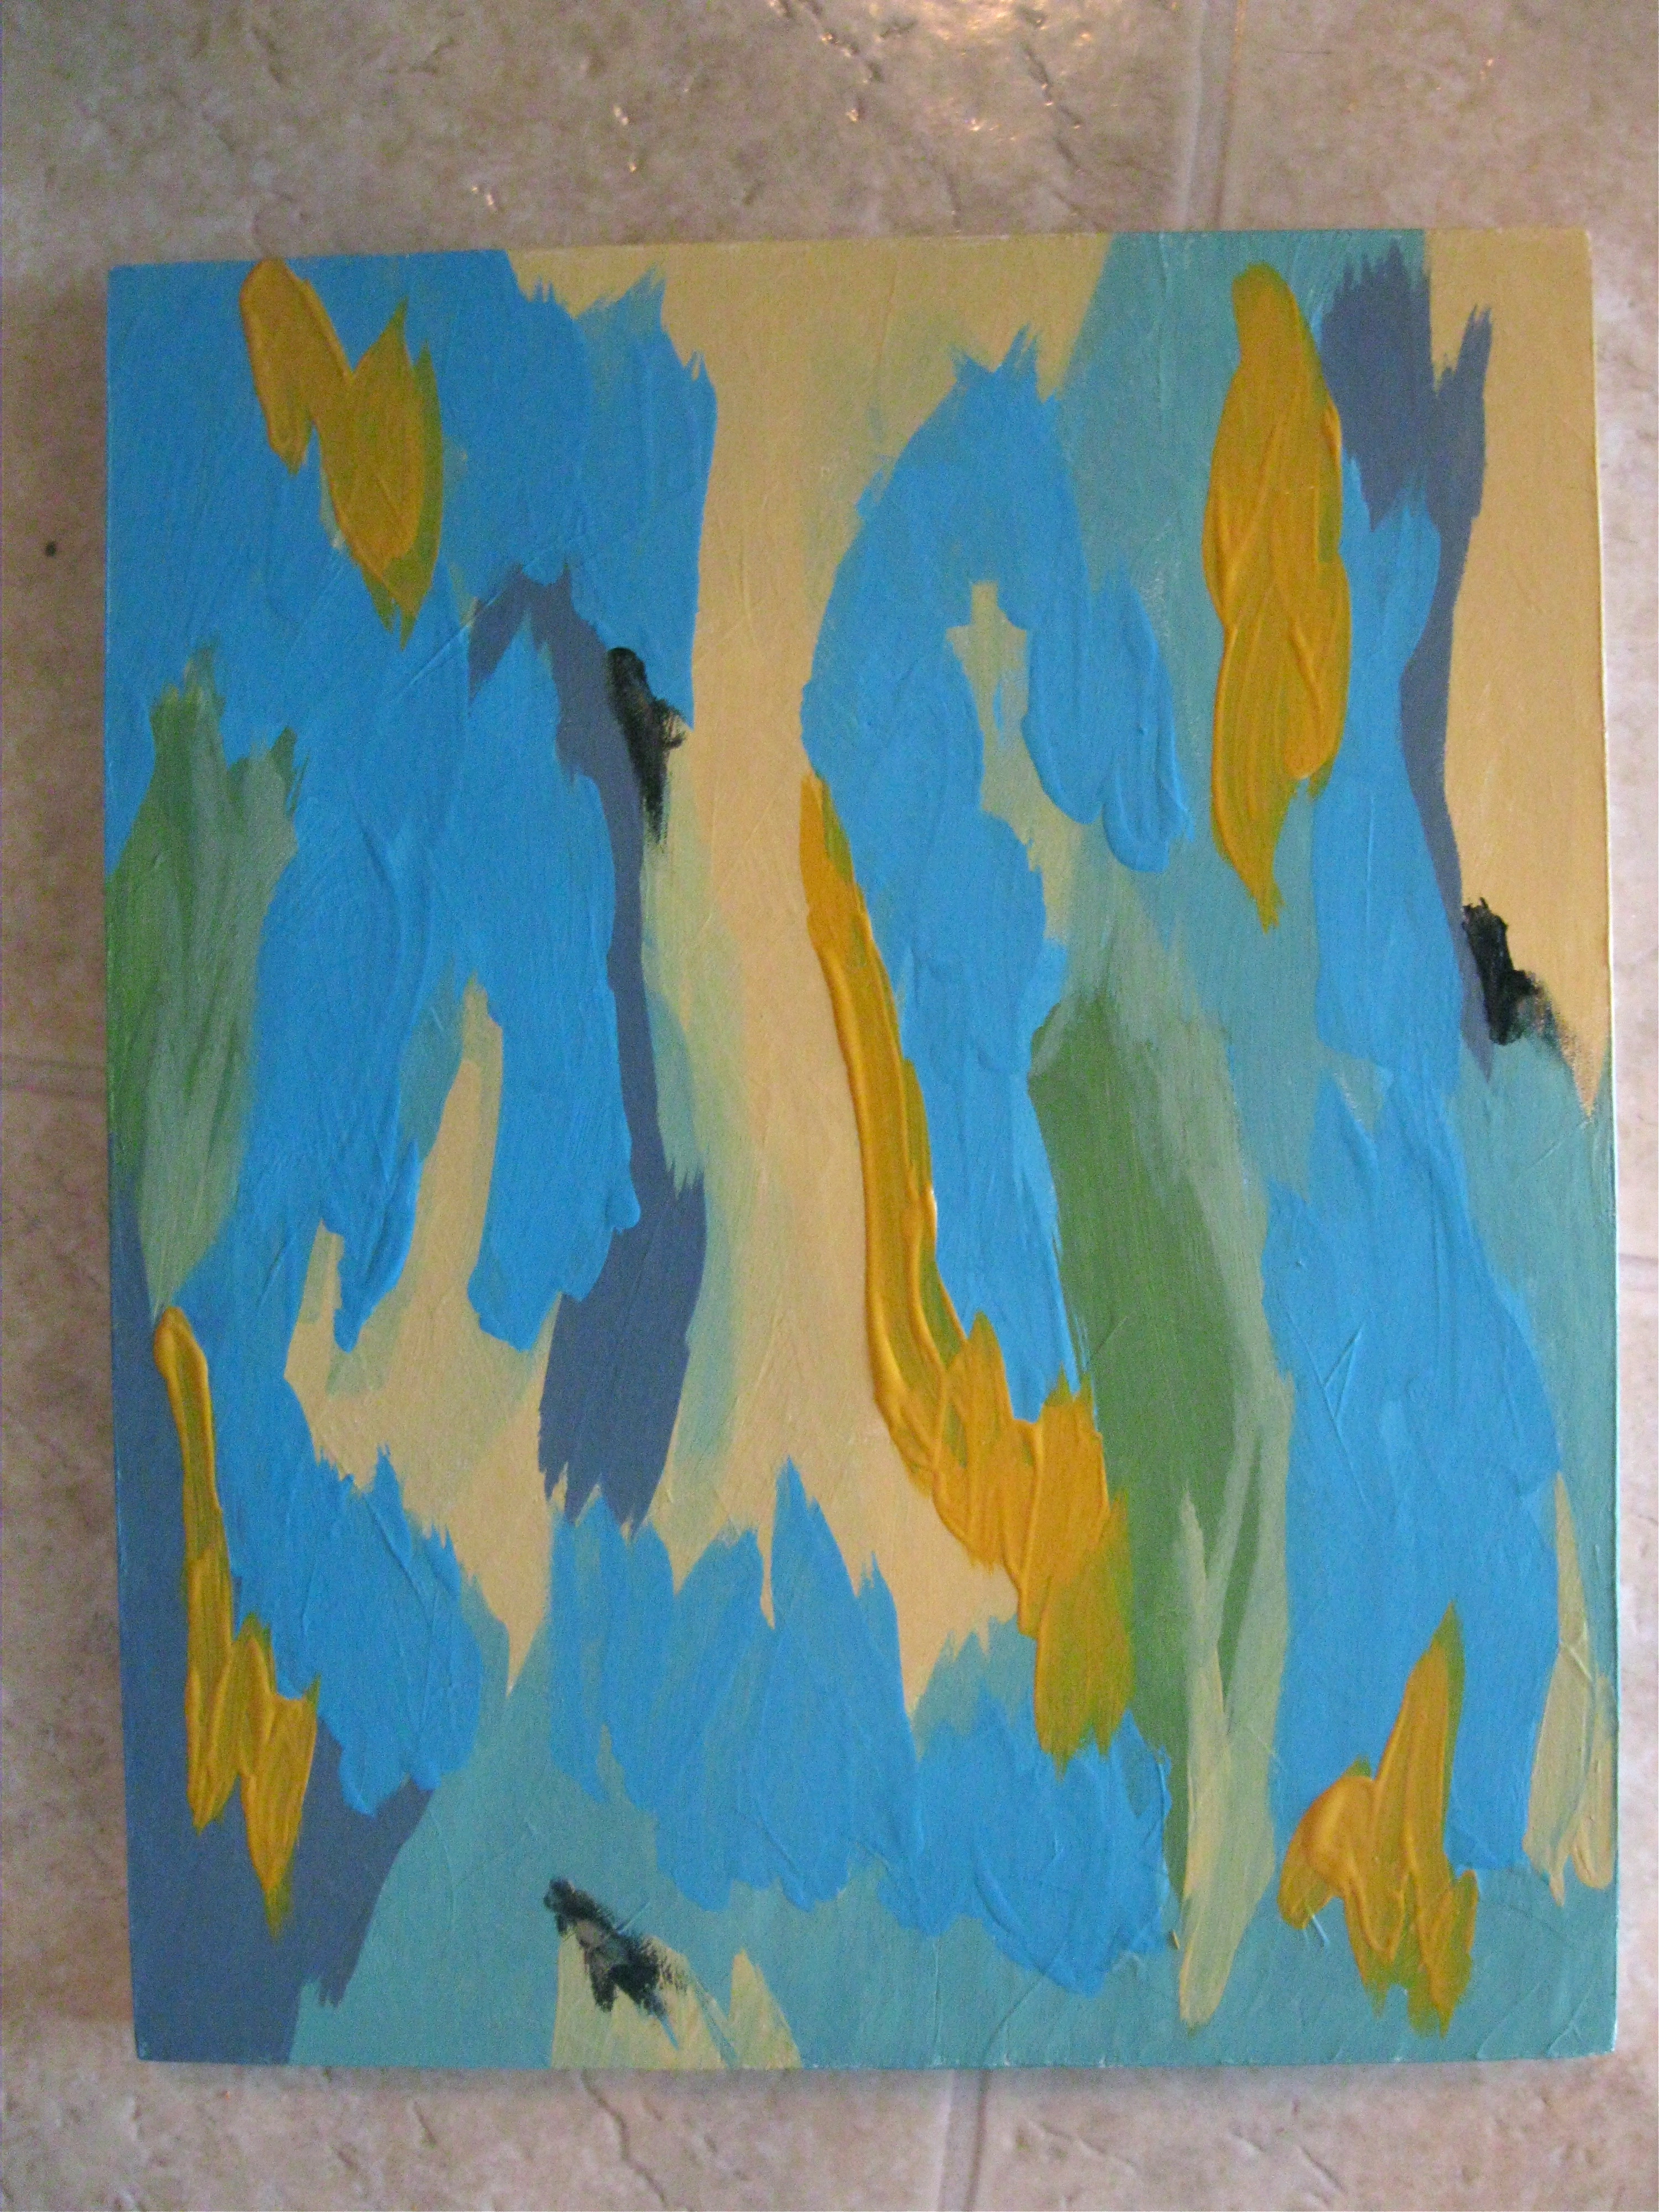
Step 1: Conceptualize – You can’t have art without an idea. Well, you can, but then you wind up painting some random splotches on a piece of plywood and trying to justify to your art teacher why she shouldn’t give you an F. In this case, I was exploring the virtual wilderness of 4chan and read the term “hamplanet”, which is apparently an insult for obesity. Inspiration struck like a crowbar to the windshield of a brand new Prius and I had to draw my very own hamplanet.
Step 2: Sketch – Sometimes I just start drawing and see what happens, but in this case I actually had an idea so I needed a sketch. I almost always start with a sketch or two to help clients dial in what they need. With personal projects, I’ll make a sketch as a rough guideline and don’t really pay much attention to how it looks. Here’s the original HamPlanet sketch:

Step 3: Color choices and outlines – Once I have a decent sketch of what I want to create, I’ll choose a color palette and begin outlining the basic shapes that comprise the image. In this case, I want a nice, thick black outline and a pink/red palette for the pig, because green pigs make no sense and should never be used to make insanely popular video games. I keep the sketch visible and slightly transparent so I can see what I’m doing.
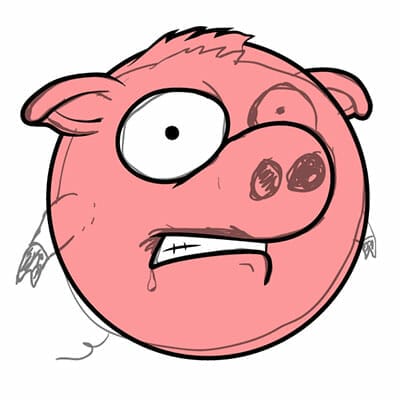
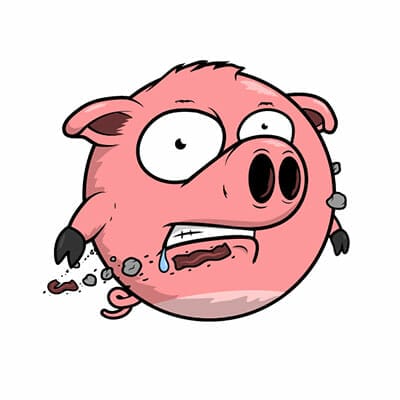
Step 4: Refine – Now comes the boring part! I added shapes and moved things around until I had a solid foundation for the final artwork. I’ve also begun working on details, such as the drool and thousand-yard stare. Here piggy piggy!
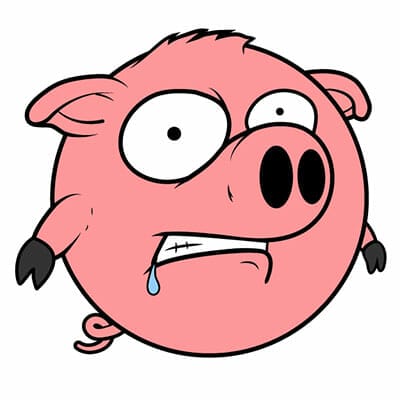
Step 5: Details – Here’s where the the fun begins. Though the image I created in Step 4 is a good start, it’s the details that really make the image pop. I added more colors, shine and shading to create the illusion of a 3d object, plus started adding a pork product-filled “asteroid belt” to add to the ham planetary theme.
Step 6: Finalize – After adding a significant amount of detail, it’s time to think about completing the project. I added more bacon and some ham to the asteroid belt to increase the pork content. I also changed the shading to round out the pig. I added a dark “space” background, as the image feels very “incomplete” against a white background. I added a title with slight font alterations, slapped on my URL so thievin’ internet bastards can’t claim credit quite as easily and voila! A shiny new Hamplanet image to call my own. Here’s the final (pork) product:
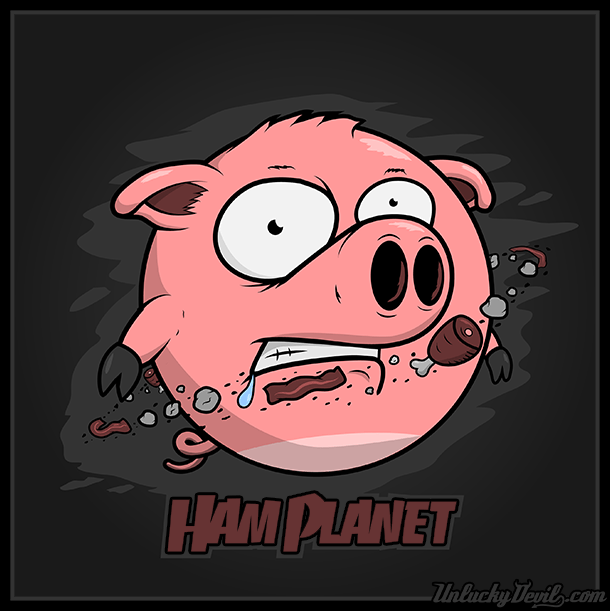
Pretty cool huh? Now that I’ve demonstrated my superior design abilities, hire me to draw something for you!
Read next: Chubby Devil